AI Agents for Power Automate

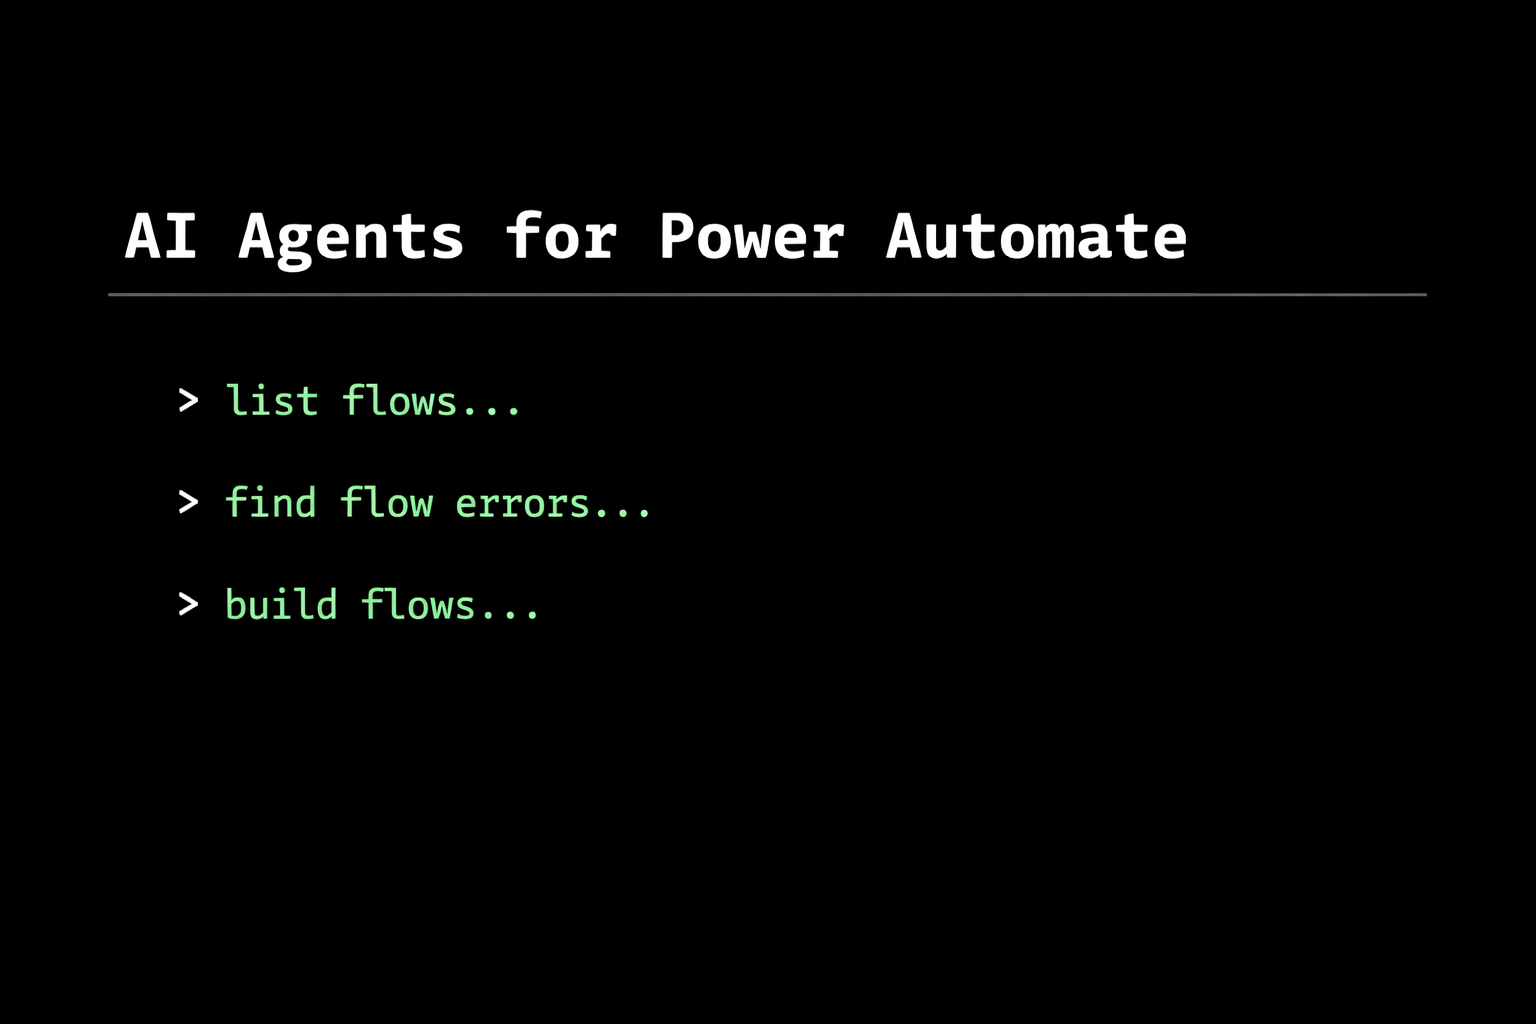
We are seeing a very strong interest and response in our release of Flow Studio MCP. So we want to get the word out more.

AI is rapidly moving beyond summary chatbots.
The next phase is AI agents — systems that can reason, decide, and take real actions inside software systems.

But agents need one critical capability:

AI Agents Needs Tools

Without tools, an AI agent is just a very articulate observer.

This is where MCP (Model Context Protocol) comes in — and why Power Automate is uniquely positioned to become an agent assisted - automation platform.

What is MCP

The Model Context Protocol (MCP) is an open standard designed to connect AI models with real tools and data sources.

Instead of hard-coding integrations, MCP provides a standard interface where AI systems can:

  • Discover tools

  • Call actions

  • Retrieve context

  • Execute operations

Technically, MCP works as a client–server architecture:

Component Role
MCP Host The AI system (agent)
MCP Client Connector used by the agent
MCP Server Provides tools and resources

This architecture allows any AI agent to connect to any MCP server without custom integration work.

MCP provides the structured way for agents to discover and call these tools safely.

  • Without tools, AI is advice.

  • With tools, AI becomes automation.

Why Power Automate Is Perfect for Agents

Power Automate already solves the hardest part of automation:

Connecting systems together.

It provides:

  • 1000+ connectors

  • workflow orchestration

  • authentication handling

  • retry logic

  • error handling

  • enterprise security

Power Automate is already used to automate business processes across apps and services.

Now imagine an AI agent that can:

  • Create flows

  • Debug flows

  • Monitor flows

  • Trigger flows

  • Modify flows

Suddenly Power Automate becomes:

The action layer for AI agents.

Instead of coding integrations from scratch, agents can orchestrate real work through flows.

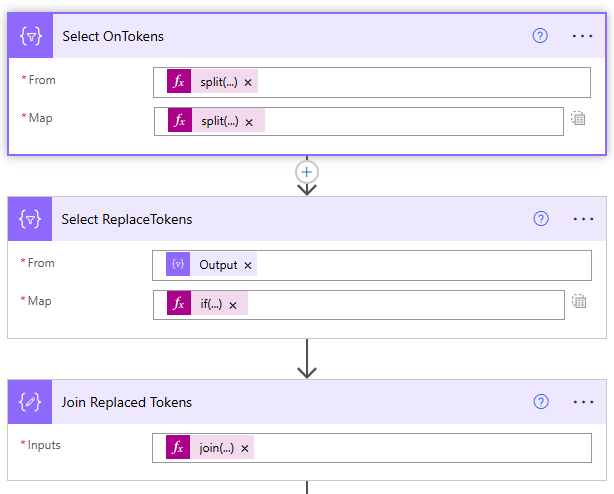
Demo Scenario: An Agent Creating a Flow

Imagine this conversation with an AI agent:

User

Create a flow that watches SharePoint for new files and posts them to Teams.

Agent reasoning

  1. Understand the requirement

  2. Generate a Power Automate flow definition

  3. Call the MCP tool: createFlow

  4. Deploy the workflow

Result:

A fully functional Power Automate flow created by an AI agent.

Even more interesting:

The agent could later:

  • analyze failed runs

  • repair broken connectors

  • suggest optimizations

  • deploy improved versions

How Flow Studio MCP Works

Flow Studio exposes Power Automate capabilities through an MCP server.

This allows AI agents to interact with flows programmatically.

Typical tools exposed include:

Tool Purpose
List flows Discover automation assets
Get flow runs Inspect execution history
Review failures Diagnose issues
Create flows Generate automation
Update flows Apply fixes

AI agents connect to the server like this:

{
  "mcpServers": {
    "flowstudio": {
      "url": "https://mcp.flowstudio.app/mcp",
      "headers": {
        "x-api-key": "YOUR_API_KEY"
      }
    }
  }
}

Once connected, an agent can operate Power Automate like a human maker — but faster and continuously.

This opens new possibilities:

  • Self-healing automation

  • AI operations for flows

  • Automated governance

  • AI-assisted development

The Bigger Vision - AI Agent Automation

Historically, automation platforms were built for humans.

Agents change that.

In the emerging architecture:

LayerTechnologyReasoningLLM / AI AgentToolsMCPExecutionPower AutomateSystemsMicrosoft 365, APIs

Flow Studio sits at the intersection:

bringing agent intelligence to Power Automate systems.

Instead of manually debugging workflows or writing scripts, agents can:

  • monitor automation health

  • investigate failures

  • recommend fixes

  • deploy improvements

All automatically.

Try It With Flow Studio MCP

You can connect AI agents to Power Automate today using Flow Studio MCP.

It exposes Power Automate capabilities as tools that agents can use.

Examples:

list-flows
inspect-failed-runs
create-flow
update-flow

This means an AI agent can:

  • diagnose broken flows

  • analyze run failures

  • build new automation

  • maintain existing systems

Get started here:

👉 https://mcp.flowstudio.app

Final Thoughts

AI agents will not replace automation platforms.

They will drive them.

Power Automate already provides the workflows. You already have more than enough Power Automate flows that you can’t monitor and manage. Your Agent will help you with that.

MCP provides the bridge between AI reasoning and real systems.

Together they unlock a new category of software:

AI-operated automation platforms.

And that is exactly what Flow Studio MCP enables.

We are seeing the beginning of a crazy wave. Ride this out with us!

Flow - lightweight fast template engine using Split twice

Technique 2 — Building a Lightweight Template Engine (Using Split Twice)

Take this example (using a handle-bar stil syntax)

ABC {{def}} GHI {{jkl}} MN

Using a dictionary (Compose)

{
  "def": "fish 🐟",
  "jkl": "chips 🍟"
}

We want to build a mini-template engine.
Now you might think - ah ok, let’s get some variables in here.

But John really dislikes variables in fact most of these flow hacks are how to not use variables. So how do you do this without variables?

1. Split on {{

split(outputs('Compose'), '{{')

result

[ 
  "ABC ",
  "def}} GHI ",
  "jkl}} MN"
]

2. Split each on }}

inside each item, split again

split(item(),'}}')

So now our original string becomes either:
["ABC "]

or

["def"," GHI "]

Recap, combine step 1 and 2

Select:
  from: split(outputs('Compose'), '{{')
  item: split(item(), '}}')

3. Conditional replacement using dictionary lookup

if(
  equals(length(item()),2),
  concat(
    outputs('Dictionary')?[item()?[0]],
    item()?[1]
  ),
  item()?[0]
)

Hidden insight

So the trick is this. If the row has 2 elements, that means the first element is a token, the rest is the remainder. If the row has only 1 element - then just return that.

[
  item()[0],
  dictionary[item()[0]] item()[1],
  dictionary[item()[0]] item()[1]
]
==>
[
  "ABC",
  "fish 🐟 GHI",
  "chips 🍟 MN"
]

If you want your dictionary lookup to be case insensitive, you can add toLower() to wrap around item()?[0]

4. Join it all together

join(body('Select'),'')

Result

ABC fish 🐟 GHI chips 🍟 MN

No loops.
No apply-to-each.
No regex.
No variables.
Super fast zero-second action.

This technique lets you:

  • Build dynamic email templates

  • Create server-side HTML rendering logic

  • Replace merge fields safely

  • Do token replacement in Dataverse text

  • Build dynamic document generators

All using standard Power Automate expressions.


Mathematically Elegant way to Flatten an Array of Arrays in Power Automate

When working with data in Power Automate, you may encounter nested arrays (arrays within arrays)—especially when dealing with JSON responses, SharePoint lists, or API results. However, many Power Automate actions require a flat array to work properly.

In this post, I'll show you a mathematically elegant way to flatten an array of arrays into a single-level array using Power Automate expressions.

Understanding the Problem

Let's say you have the following array:

[
    ["Ford", "Toyota"],
    ["BMW", "Audi"],
    ["Honda", "Nissan"]
]

Instead of dealing with nested arrays, you want to flatten it into a single array:

["Ford", "Toyota", "BMW", "Audi", "Honda", "Nissan"]

The slow way - Array variable

The slow way is to use an array variable, then while looping through the top level array, append or union the results into the array variable.

Variables are so slow I don’t even want to make them and add a picture.

The faster way - String manipulation

Convert the array into JSON string, remove the extra array [ and ] characters, re-construct the array in string, and convert back to JSON.

This is a method I was using, it’s much quicker, but has a risk of needing to be careful when removing bracket characters. If you have nested JSON objects this needs more care.

The new fastest way - div and mod flattening

To understand this - you need two numbers: m and n
m = number of elements in the top array
n = number of elements in the child array

Create a range of the total result size of the array (m) * (n)

Use select - loop through this range of numbers, then for each, select the nested result using:
outputs(‘nested-items’)?[ div( item(), outputs(‘n’)) ]?[mod( item(), outputs(‘n’)) ]

do you see how elegant this is 🤔

From:
range(
  0, 
  mul( 
    length(outputs('Nested_Array')),
    outputs('Compose_-_child_size')
  )
)

Map:
body('Nested_Array')
?[div(item(),outputs('Compose_-_child_size'))]
?[mod(item(),outputs('Compose_-_child_size'))]

what’s going on here?
let’s picture for each of the 6 elements above.

0 = array[0][0] div(0, 2) = 0, mod(0,2) = 0
1 = array[0][1] div(1, 2) = 0, mod(1,2) = 1
2 = array[1][0]
3 = array[1][1]
4 = array[2][0] div(4, 2) = 2, mod(4,2) = 0
5 = array[2][1]

so in one select, we can flatten an (m * n) -sized array.

What if my child array is irregularly sized?
That’s OK. By using ?[n] Select will return null for that element, so we can follow the select with a filter-array to remove the nulls.

Bonus

This works wonderfully with Pieter’s Method, which returns array of Body jsons.

Bonus

This works well for cross-join of two arrays, and then flattening them into one.
(These bonus ideas are massive additional blog posts let me know if want to read them…)

A debug tip for complex conditions in Power Automate #FlowNinjaHack 126

This is #FlowNinjaHack 126

Sometimes, we have complex Condition blocks in Power Automate.

And when we run the flow, it just shows “false”, which is a bit hard to debug.

One way I’ve started doing, is to write a Compose debug statement that shows the output of each component of my condition.
I show the Code View here as well so you get the idea.

To convert from the Condition block to these expressions can be a bit tricky, since you can’t use Code View easily for Condition. So here’s a second hack.

Paste this to a text editor, something that understands JSON. You’ll get this part.

        "type": "If",
        "expression": {
            "and": [
                {
                    "not": {
                        "equals": [
                            "@outputs('Get_item_-_Bulletins_list')?['body/Status/Value']",
                            "Draft"
                        ]
                    }
                },
                {
                    "not": {
                        "contains": [
                            "@body('Select_page_filename')",
                            "@variables('varTitle')"
                        ]
                    }
                },
                {
                    "contains": [
                        "@body('Select_page_filename')",
                        "@outputs('Compose_-_Old_Title')"
                    ]
                }
            ]
        }

Now this is still not the right format, but you can then go from this to:

not(contains(body('Select_page_filename'), outputs('Compose_-_Old_Title'))

With a lot less pain.
This is the debug message you’ll see when you run now.

Updates to Flow Studio App in 2023 October

There’s been a series of updates to Flow Studio App on our development build, as I’m preparing to push this next stable build to production, I thought I’d take this time to list down lots of changes we’ve done in this latest series of updates.

Production 1.1.51

Dev 1.1.58

Oh what happened to the red colour!

  • Switching UI Control Set towards Fluent 2

    We are in the middle of switching the overall look and feel and UX experience from default Telerik component style to the new Telerik + Fluent style, which would be more inline with the experience in Power Platform and also M365.

  • Switching primary colour from red to a “whale” colour

    First is switching away from the red colour - so we can actually use red to indicate serious issues happening elsewhere on the screen that demands your attention, like that "Flow Suspension” notice on the top-right.

  • On Flows, Flow (Admin) and Flows (solution) screens, we added pagination controls, this greatly helps rendering the grid when you have hundreds of flows.
    Don’t worry, search and sort is applied prior to paging, so it won’t leave you with having to browse through several pages before finding your item.

  • The grid menu dropdown filter had an bug fix that allows us to select the fields more accurately. Previosuly, the menu often lose focus and we aren’t able to easily select a field to filter.

  • Flow Diagram had several fixes

  • Approvals tab had more fixes.

  • Settings tab is brought back - we will be making lots more user-configurable settings very soon.

  • We tidied up the overall page styling and reduce wasted padding around the grid and window (but do give us feedback if we mess something up on your device)

The next lot of updates will begin to drop on dev branch really soon.