Founder of Flow Studio
John Liu Automate. Code. Share.
I write about Power Platform, agents, and building useful tools. Microsoft MVP Alumni.

SharePoint as Vercel for Vibe Apps
git push, app deployed. That magic, but landing inside SharePoint Online instead of Vercel - so it ships in environments where Vercel will never get approved.
Read full article-
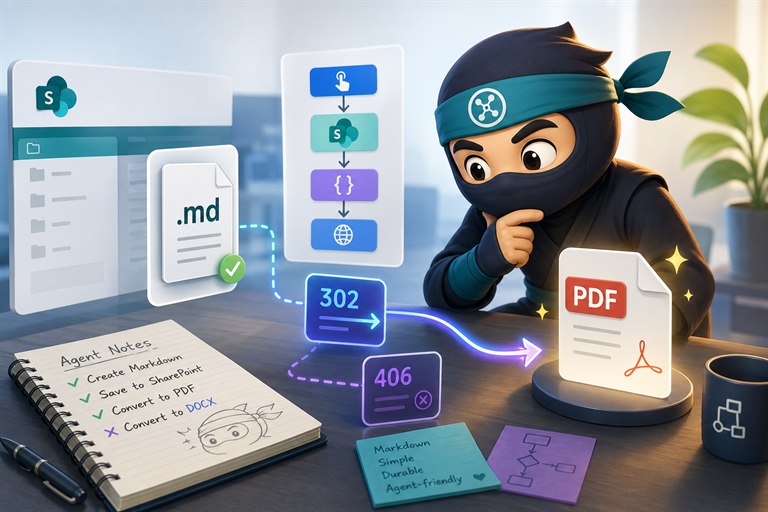
SharePoint Markdown to PDF: a limit test with Agents and Flow Studio MCP
Microsoft says Markdown is now native in SharePoint and OneDrive, so I asked an agent through Flow Studio MCP to create a Markdown file, save it to SharePoint, and test PDF conversion.
Read article -

The Flow Studio MCP Journey Ahead
Some notes on improving MCP, why Power Automate still matters, what skills mean for agents, and why useful agent work should become docs, context, and deterministic tools.
Read article -
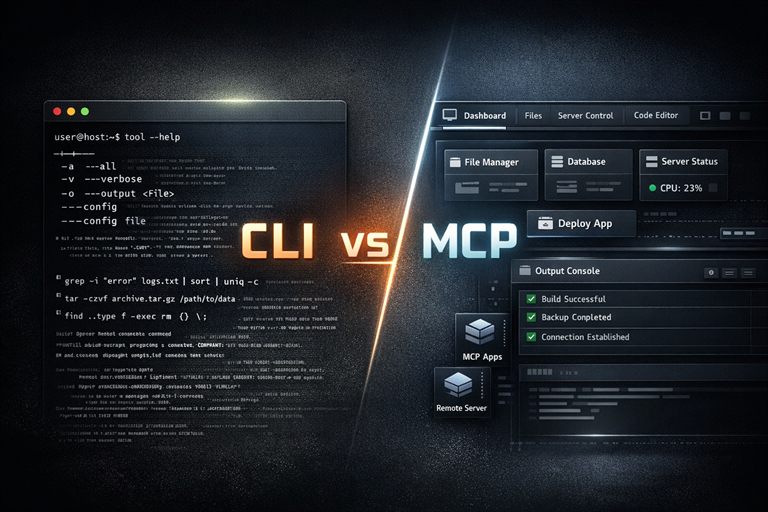
Why MCP is still the best bet over CLI
CLI is great for humans, but MCP is a better fit for agents: discoverable tools, portable integrations, and MCP Apps for interactive UI.
Read article -

Building the best bridge between your Agent and Power Automate
We keep making Flow Studio MCP better for agents and Power Automate: clearer errors, safer updates, JSON flexibility, and smaller edits.
Read article -

Planning and migrating from Squarespace to SWA + Astro
A practical look at how we planned the move from Squarespace to Astro on Azure Static Web Apps using agents: inventory, redirects, content migration, comments, and launch readiness.
Read article -
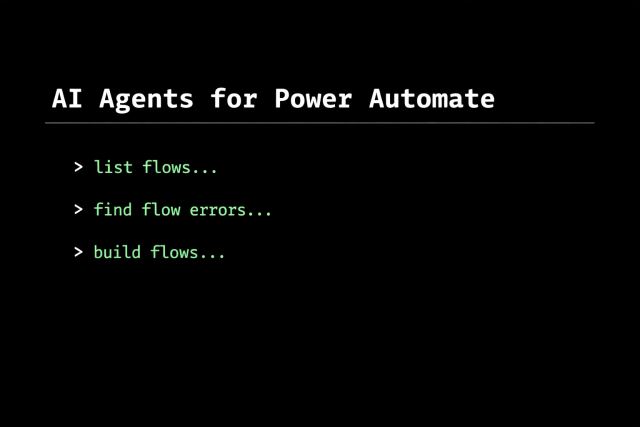
AI Agents for Power Automate
We are seeing a very strong interest and response in our release of Flow Studio MCP . So we want to get the word out more. AI is rapidly moving beyond...
Read article