Rename multiple files in Office 365 via Silverlight Client Object Model
/
One of the first Silverlight "tools" I build for SharePoint 2010 was a tool to rename multiple files in a SharePoint document library with regular expression find/replace, via the client object model.
This is a successful test run with Office 365, without modification.
This is also the installation / user guide - XAP file is at the end of the blog post.
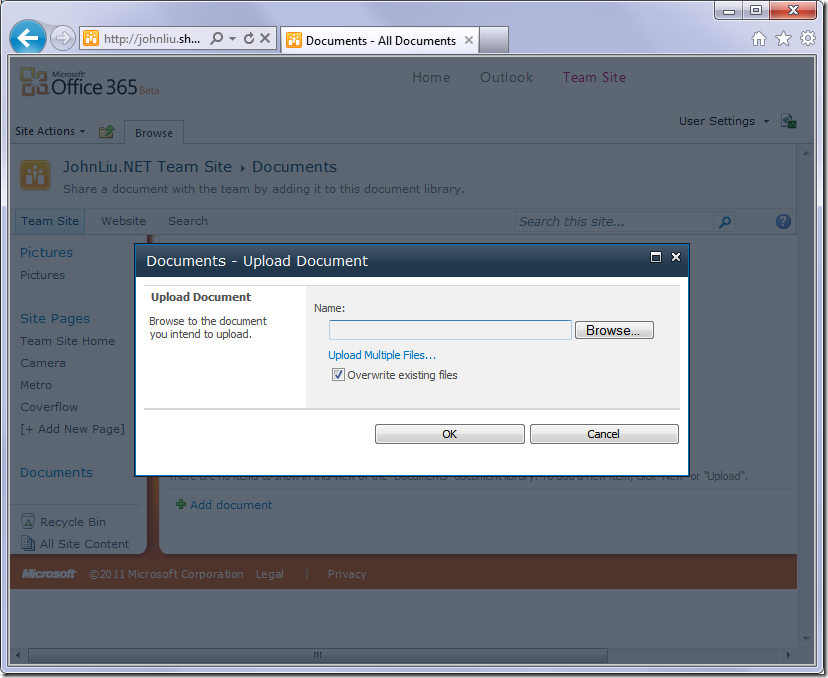
Upload Silverlight XAP file
1. Upload the xap file to SharePoint.
2. Save.
3. Copy the shortcut to the xap file, for me this is:
/TeamSite/Documents/DocRename.xap
Add Web Part
4. Edit the current page - I'm inserting the webpart directly above the list
5. Add to the webpart zone
6. The Office 365 Web Part Adder is a lot prettier. Select the Silverlight Web Part
7. Configure the Silverlight webpart.
8. Give it the path to my XAP file
9. Set a minimum height
10. Stop editing page (save)
Run it!
11. The webpart should load now - the find/replace is done via Regular Expression. Here I'm matching anything named (.*)\.htm and changing it to the html suffix, while retaining the file name.
12. Results
13. Files renamed.
Summary:
Important notes
- The Silverlight component picks up the list on the current page
- You can also set the list name via Silverlight InitParam property
- The replacement rule is this that - if there is already a file with the name you are placing, it will skip. It will NOT overwrite.
- The webpart doesn't refresh the list after running, so you need to hit F5
- Finally, the Ribbon is contextual and you may find that since there is an extra webpart on the page, your normal List ribbons don't appear unless you focus on the list webpart. If you can't stand this anymore (I can never last more than a few minutes), remove the Silverlight webpart or add it to a different page
- Here it is, have fun! https://static1.squarespace.com/static/5527bff2e4b0b430660b0d10/5527c30de4b030eeeef09715/5527c30fe4b030eeeef0a162/1304422652343/DocRename.xap


