Founder of Flow Studio
John Liu Automate. Code. Share.
I write about Power Platform, agents, and building useful tools. Microsoft MVP Alumni.

16 levels of building an MCP
Building an MCP server starts as a wrapper around an API, but the real work is teaching agents how to discover, choose, recover, authenticate, and operate safely.
Read full article-
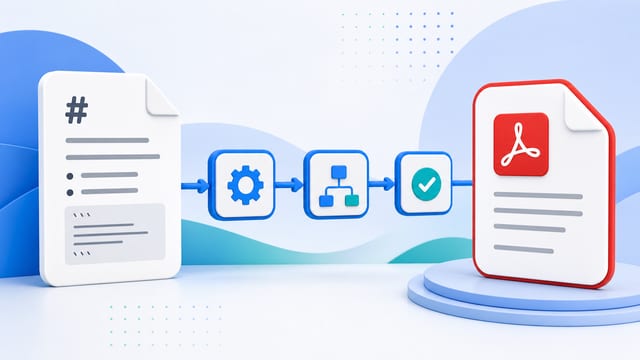
Convert Markdown to PDF with Power Automate (Full Guide)
How to convert a Markdown file to PDF using Power Automate and the OneDrive ConvertFileByPath connector. Includes a full compatibility test of 12 Markdown feature categories.
Read article -

Flow Studio v1.4 — A Major Update
Flow Studio 1.4.x brings an Angular upgrade, a move to Azure Static Web Apps, a new lightweight API proxy, a unified flow view, SQLite-in-browser caching, and an ongoing UX refresh toward Tailwind and Fluent Design.
Read article -

SharePoint as Vercel for Vibe Apps
git push, app deployed. That magic, but landing inside SharePoint Online instead of Vercel - so it ships in environments where Vercel will never get approved.
Read article -
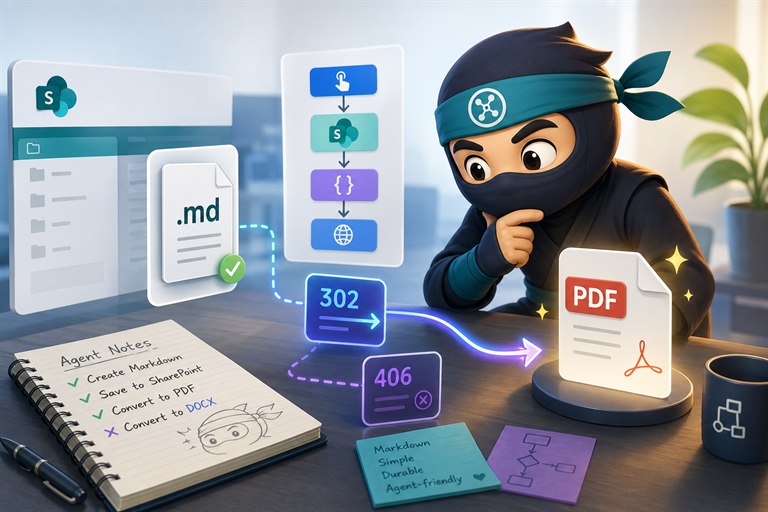
SharePoint Markdown to PDF: a limit test with Agents and Flow Studio MCP
Microsoft says Markdown is now native in SharePoint and OneDrive, so I asked an agent through Flow Studio MCP to create a Markdown file, save it to SharePoint, and test PDF conversion.
Read article -

The Flow Studio MCP Journey Ahead
Some notes on improving MCP, why Power Automate still matters, what skills mean for agents, and why useful agent work should become docs, context, and deterministic tools.
Read article -
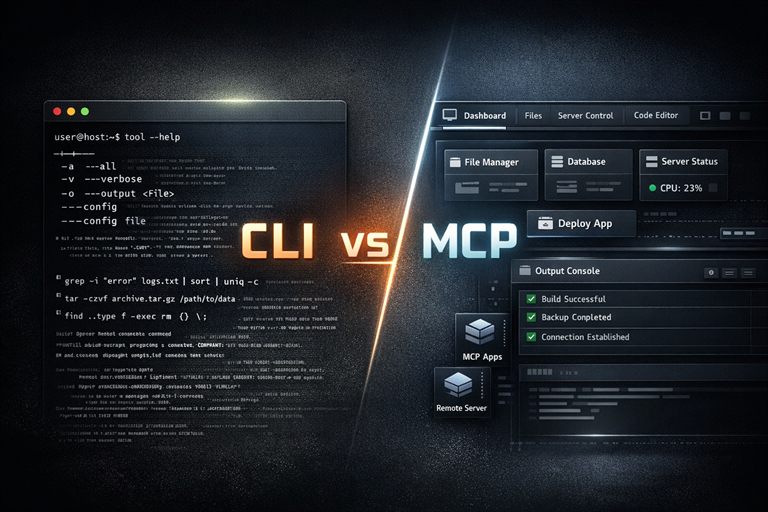
Why MCP is still the best bet over CLI
CLI is great for humans, but MCP is a better fit for agents: discoverable tools, portable integrations, and MCP Apps for interactive UI.
Read article