Auto-Classify Images in SharePoint Online library via Flow for Free
Microsoft Flow’s most recent update added ability to query and update SharePoint File property. This is actually really timely, as I wanted to combine this with a few other techniques and built a Document Library Image Auto-Classifier Flow.
Is that a clickbait headline? Well it’s totally real, and we’ll build it in a moment.

Steps:
- Set up your cognitive service account (understand the free bucket)
- Set up a SharePoint Online document library with Categories
- Set up the Flow file loop
- Do a fancy JSON array to concatenated string projection operation with Select and Join
- Viola, no code. And pretty much *free*
This is part of a series on Microsoft Flow
Featured
Mar 20, 2026
FlowStudio, MicrosoftFlow, MCP, PowerAutomate
Mar 20, 2026
FlowStudio, MicrosoftFlow, MCP, PowerAutomate
Mar 20, 2026
FlowStudio, MicrosoftFlow, MCP, PowerAutomate
Feb 21, 2026
PowerAutomate, MicrosoftFlow, LogicApps
Flow - lightweight fast template engine using Split twice
Feb 21, 2026
PowerAutomate, MicrosoftFlow, LogicApps
Feb 21, 2026
PowerAutomate, MicrosoftFlow, LogicApps
Mar 12, 2025
Mathematically Elegant way to Flatten an Array of Arrays in Power Automate
Mar 12, 2025
Mar 12, 2025
Jan 16, 2025
code, MicrosoftFlow, PowerAutomate, debug
A debug tip for complex conditions in Power Automate #FlowNinjaHack 126
Jan 16, 2025
code, MicrosoftFlow, PowerAutomate, debug
Jan 16, 2025
code, MicrosoftFlow, PowerAutomate, debug
Oct 27, 2023
FlowStudio, MicrosoftFlow, PowerAutomate
Updates to Flow Studio App in 2023 October
Oct 27, 2023
FlowStudio, MicrosoftFlow, PowerAutomate
Oct 27, 2023
FlowStudio, MicrosoftFlow, PowerAutomate
Aug 7, 2023
FlowStudio, MicrosoftFlow, PowerAutomate
Power Automate API changes - v2 Admin scope now needs user_impersonation
Aug 7, 2023
FlowStudio, MicrosoftFlow, PowerAutomate
Aug 7, 2023
FlowStudio, MicrosoftFlow, PowerAutomate
Aug 1, 2023
MicrosoftFlow, PowerAutomate, PowerBI
field notes using Power Automate with Power BI
Aug 1, 2023
MicrosoftFlow, PowerAutomate, PowerBI
Aug 1, 2023
MicrosoftFlow, PowerAutomate, PowerBI
Set up your Azure Cognitive Service instance
Follow these simple steps to create an Computer Vision API Cognitive Service in your Azure. Computer Vision API has a free tier.
[caption id="" align=“alignnone” width=“649”]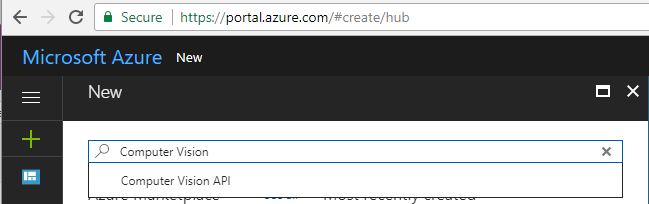 1. Create Computer Vision API [/caption] [caption id="" align=“alignnone” width=“644”]
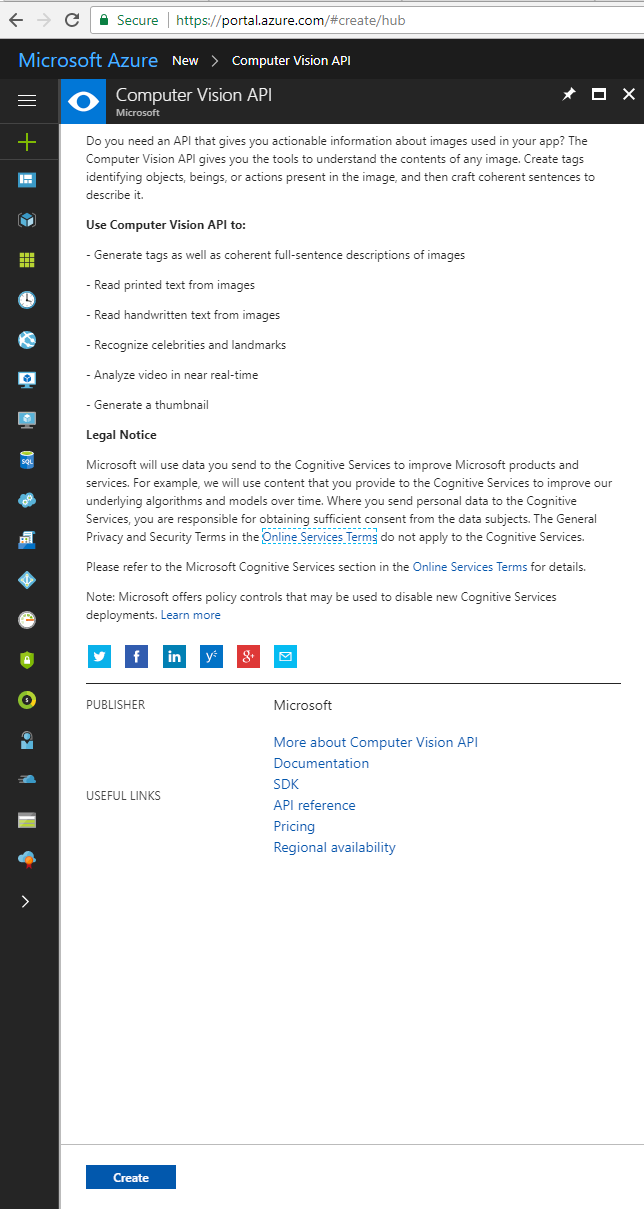 2. Scroll down and hit Create [/caption] [caption id="" align=“alignnone” width=“692”]
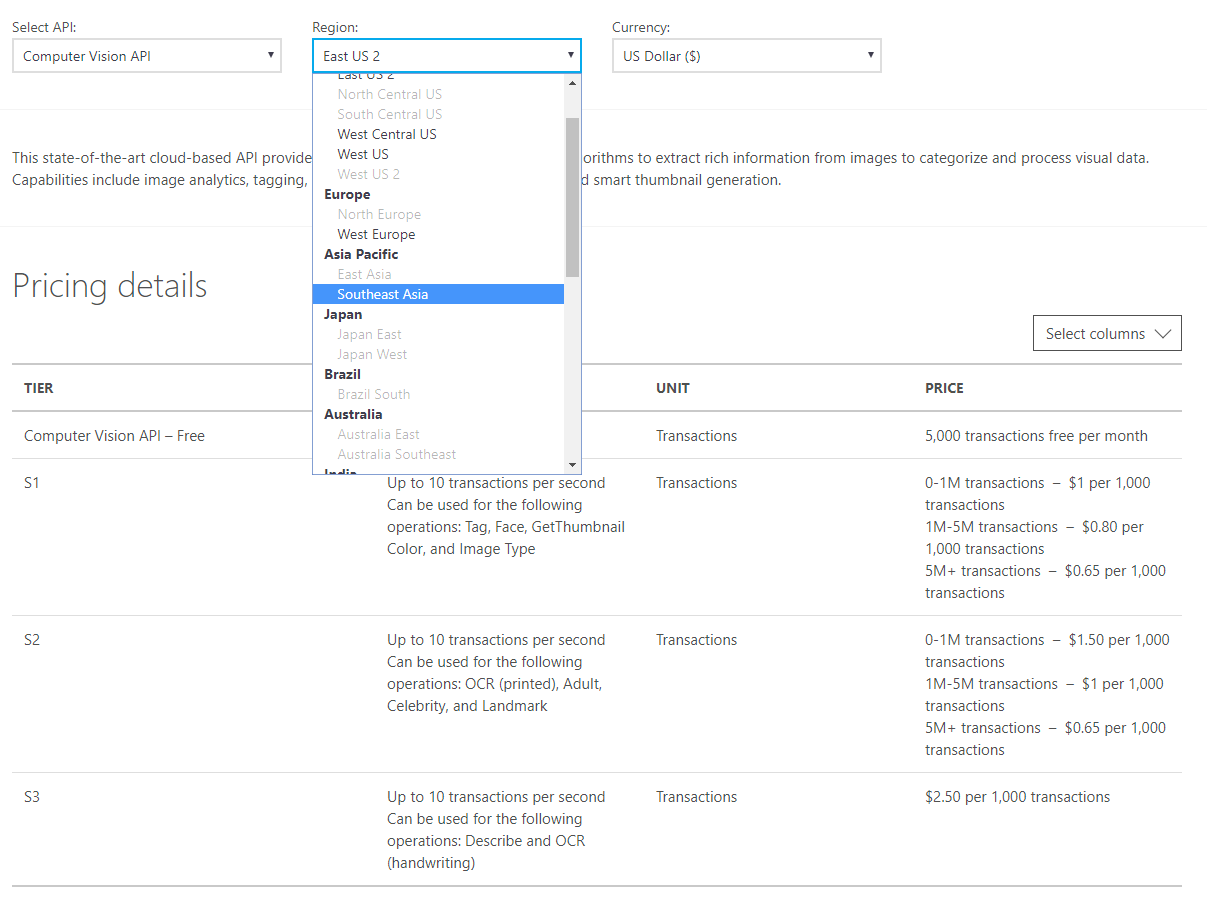
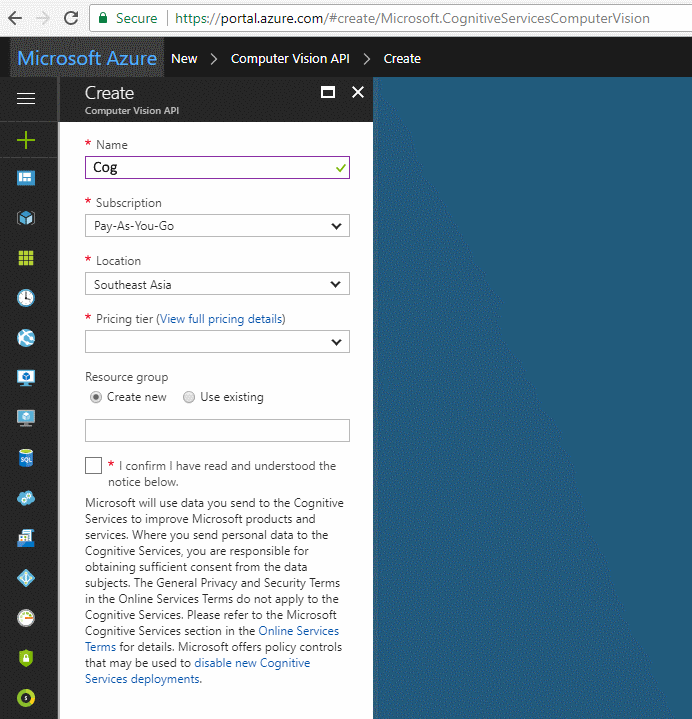 3. Give this service a name, set up the region and select Free pricing tier [/caption] [caption id="" align=“alignnone” width=“1387”]
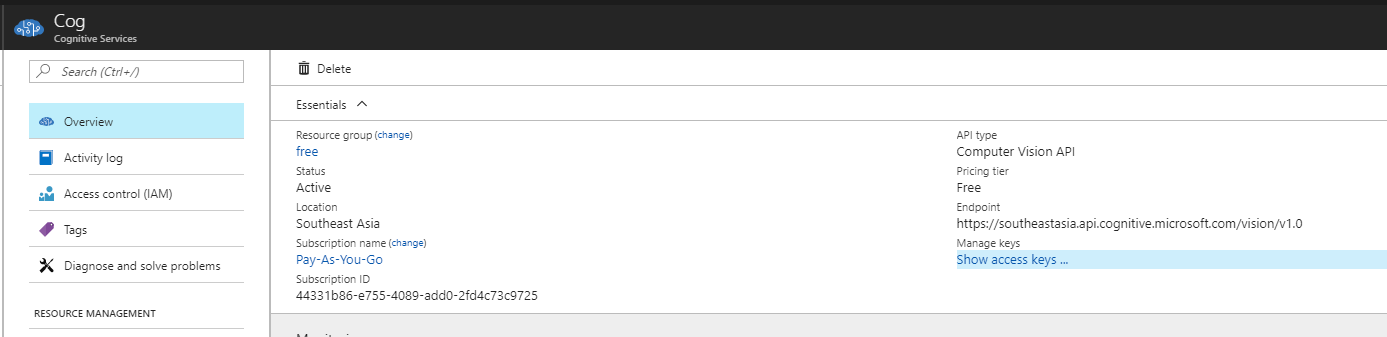 4. You need the endpoint url here [/caption] [caption id="" align=“alignnone” width=“302”]
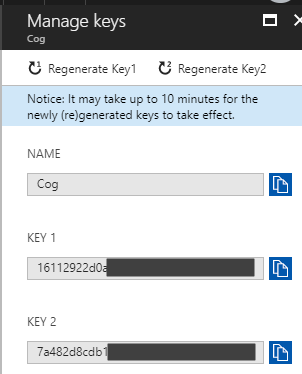 5. Also, copy the Name and key 1 [/caption]
You will need the “Name” and a “Key” for the next step.
The free tier of Computer Vision API - first 5000 transactions free per month.
Note the service isn’t available in all regions. Most of my stuff is in Australia East, but for the Cognitive Service API it has to be hosted in Southeast Asia. YMMV.
Then we need to set up the connection in Flow
[caption id="" align=“alignnone” width=“629”]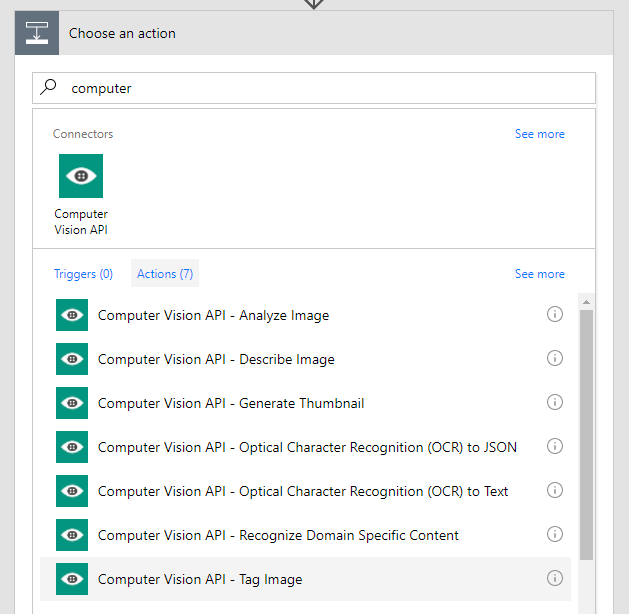 1. Find the Computer Vision API action [/caption] [caption id="" align=“alignnone” width=“628”]
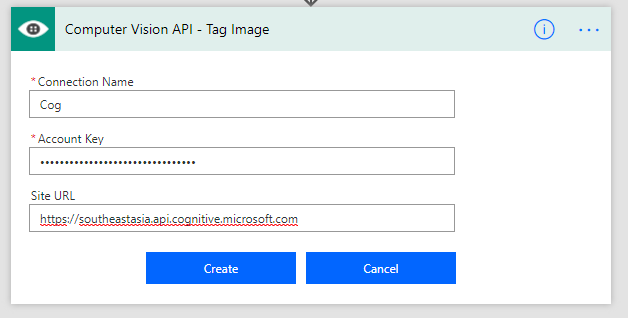 2. Enter service name, key and the root site url to set up the initial connection [/caption] [caption id="" align=“alignnone” width=“619”]
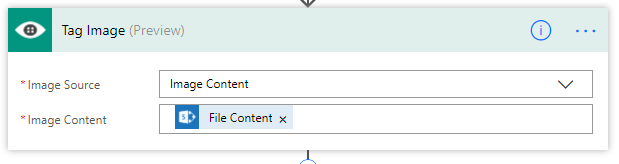 3. Created correctly, you get an action like this [/caption]
Set up the SharePoint Document Library
My SharePoint document library is very simple - it is just a basic document library, but I added an extra site column “Categories”. This is an out of the box field, and is just a simple text field.
[caption id="" align=“alignnone” width=“582”]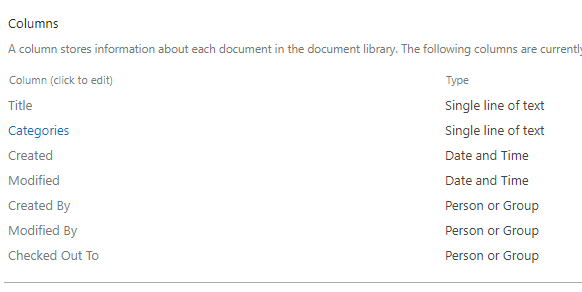 This is a simple step [/caption]
Set up the Flow
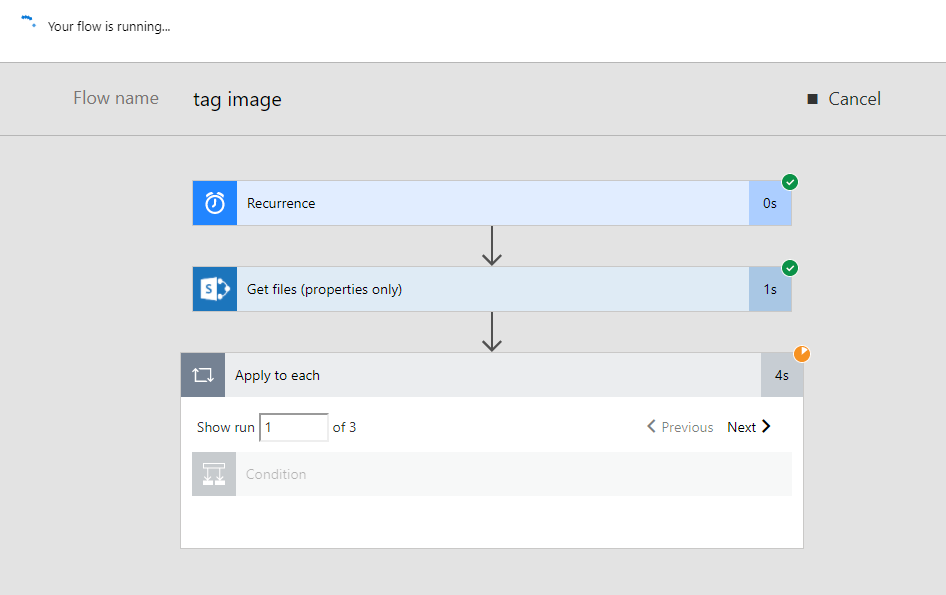
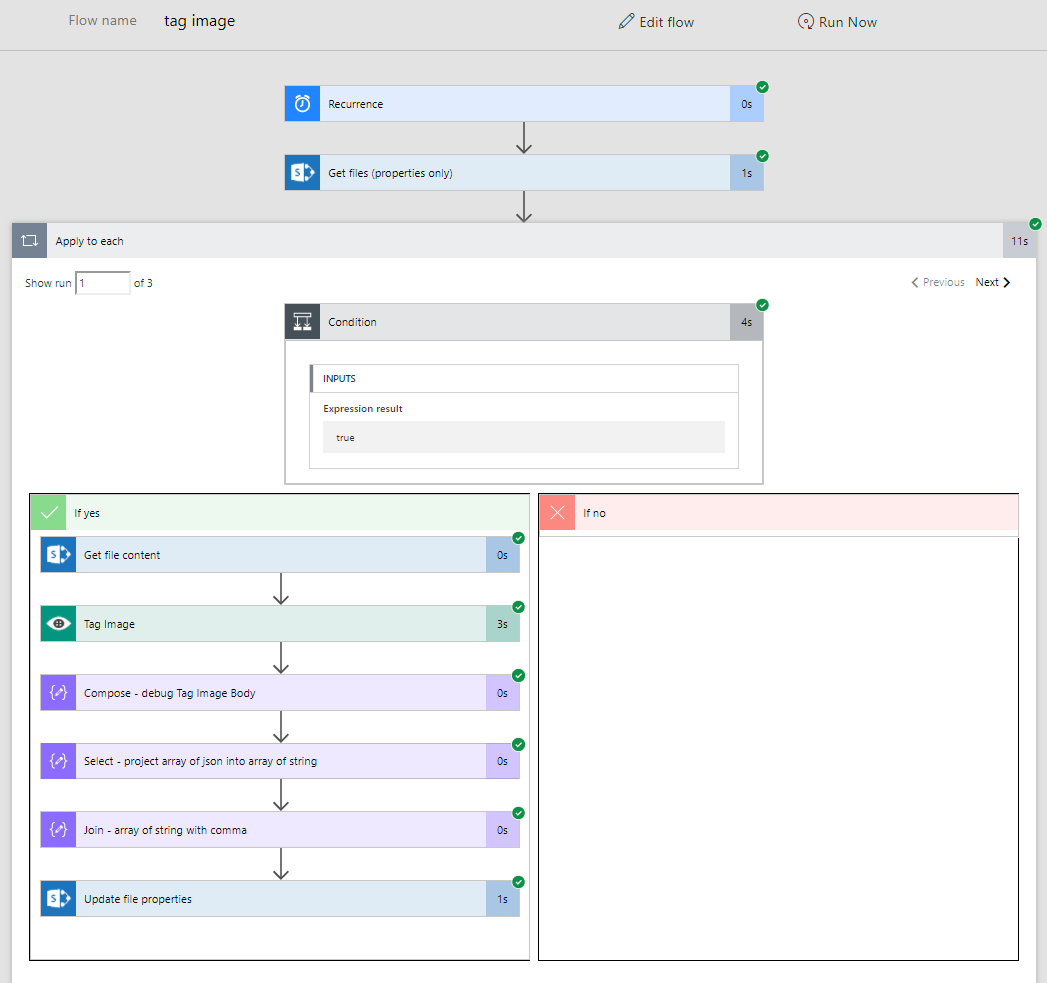
I trigger the flow with a Scheduled Recurrence that runs once per day.
Using the new Get Files (properties only), I grab a list of all the files in a document library.
I then run for-each on the list of files.
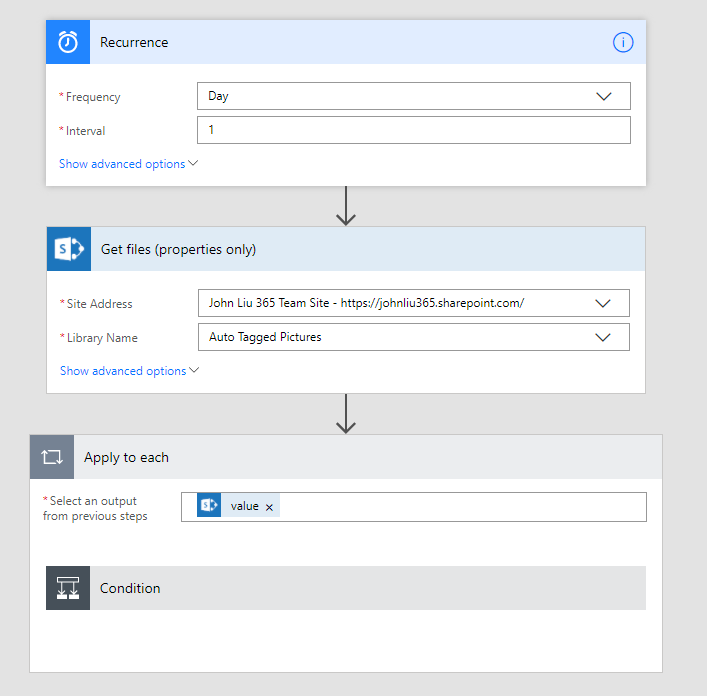
Inside the for-each, I have a condition that checks if the Categories field is null. If you type null directly into the field, you will get the string ‘null’.
Tip: To actually get the formulat/expression null, select Expressions and type null there.
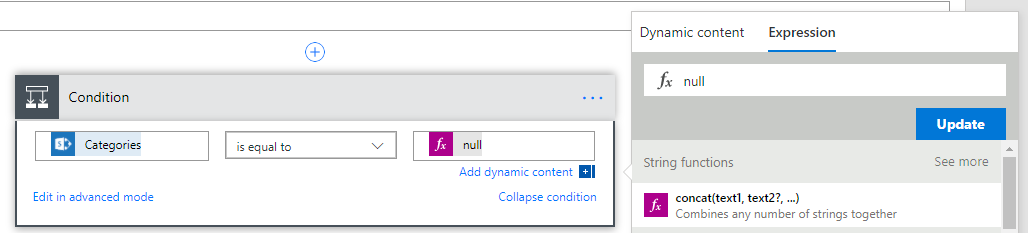
If the Categories is null, then we proceed.
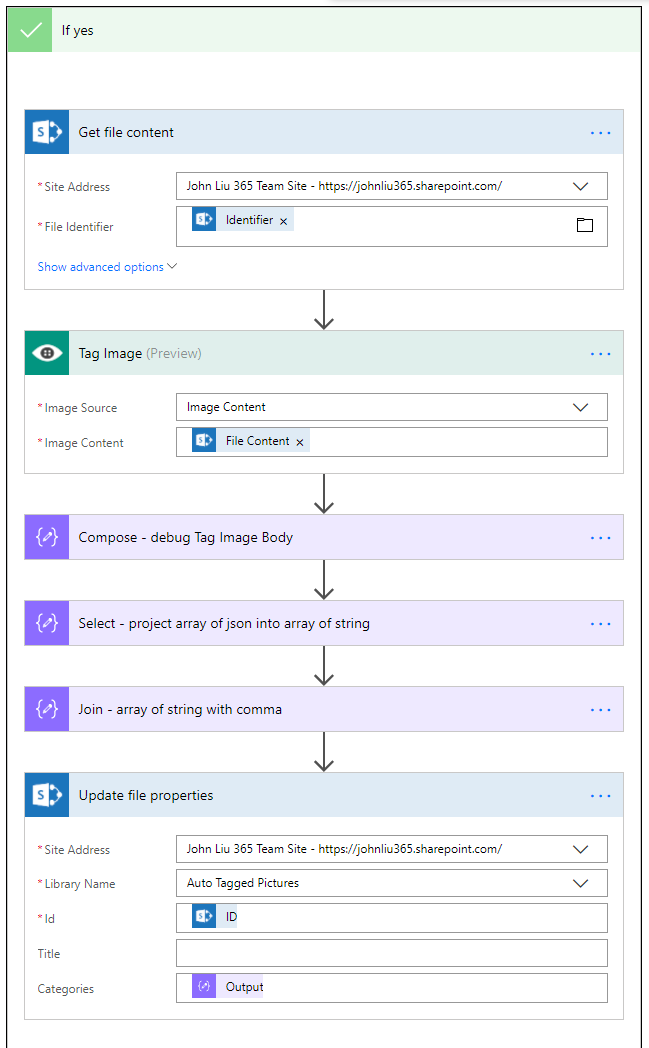
Grab the file content via Get file content
Call Computer Vision API with the image content. Select the Image Source to binary, instead of URL.
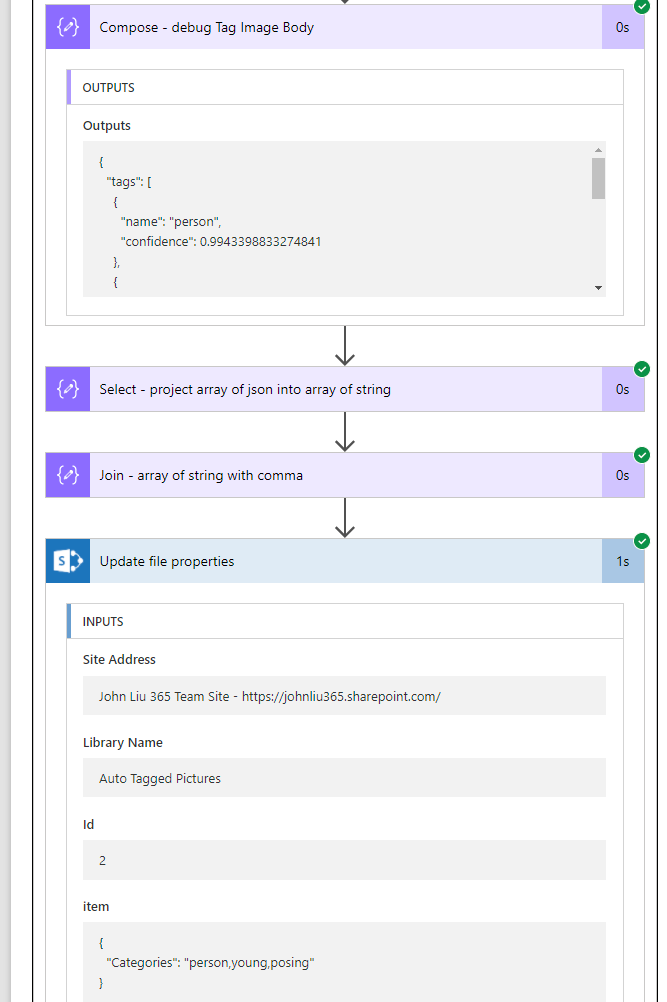
Tip: I use a compose to see the debug results
I’ll explain the array projection in the next section.
Select projection: JSON array to String array
We have an array of JSON objects:
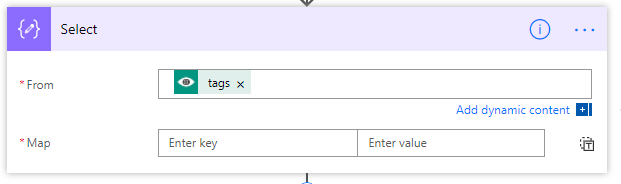
This default UI maps to:
The result is that we would end up with a new array of (simpler) JSON objects.
Hit advanced text mode.
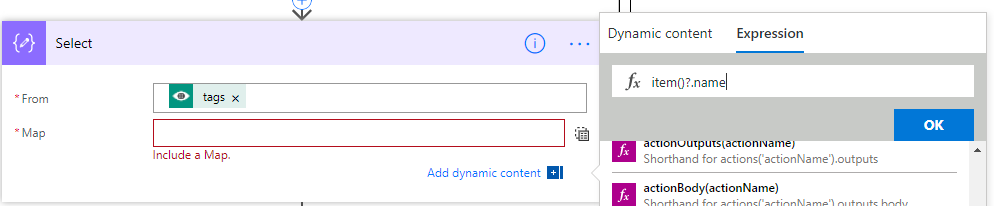
Here, we can use Expression to say item(‘Tag_Image’)?.name
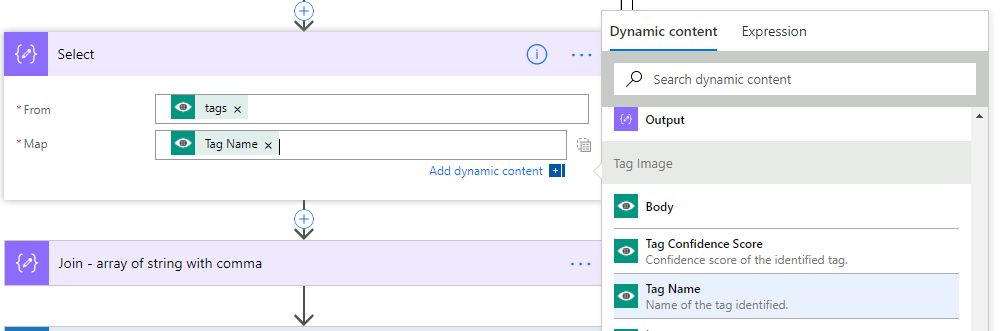
In this case the UI is smart enough to show Tag.Name as a dynamic content (as well as the Tag.ConfidenceScore property). So we can select that.
This performs a projection of
We now have an array of strings. Combine them via Join with a comma (,) separator.
Update the file properties with this string.

Lets see the results
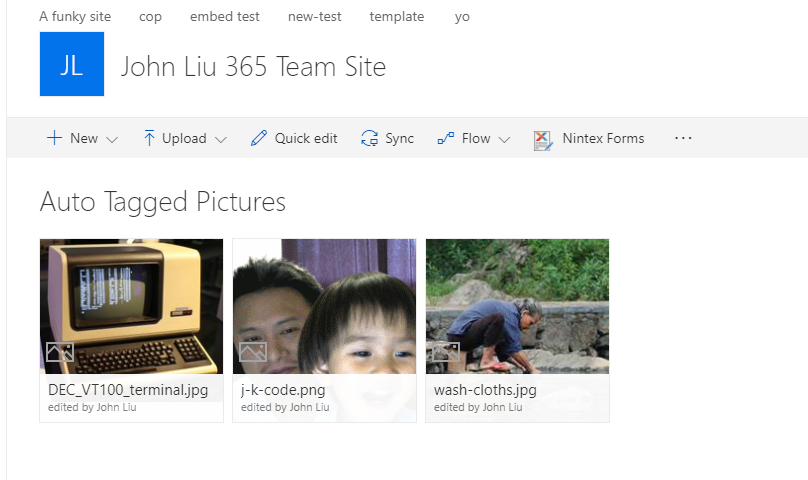
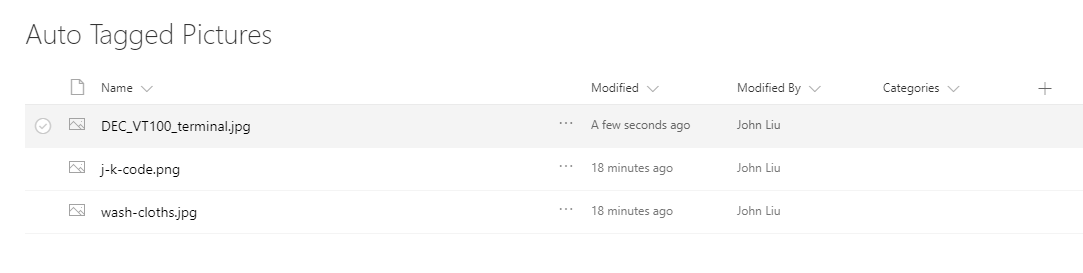
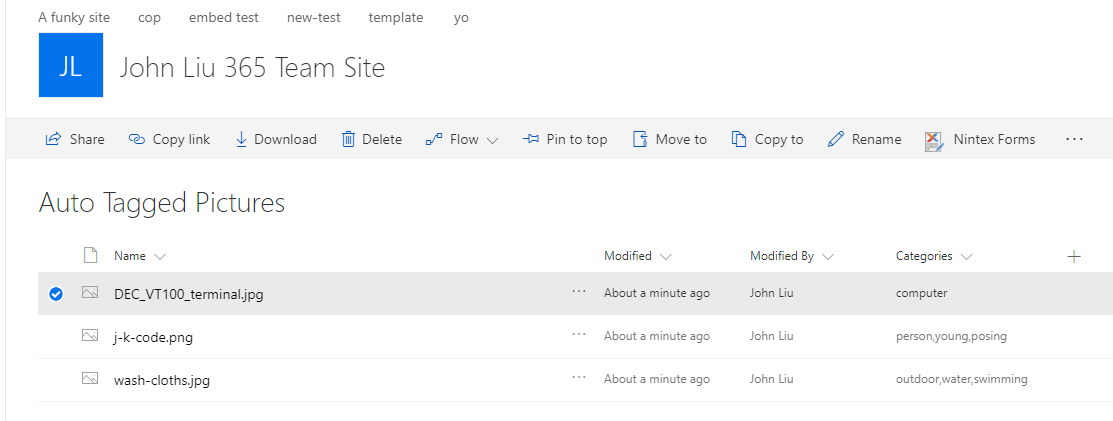
I uploaded a few images to the library.
Note the categories field is blank.
Running the Flow
When it finishes, I’m checking the JSON - the picture is identified with a “person” with 99% confidence.
The combined string “person,young,posing” is updated into the File property.
The documents are updated. When Flow runs tomorrow it will skip them.
The Final Flow
Discussions