Silverlight + SharePoint 2010 - package XAP file in a sandbox WSP Solution
This is a long series of blog posts on developing, debugging and deploying Silverlight and SharePoint solutions.
/blog/2010/6/18/develop-and-deploy-silverlight-sharepoint-2010-solutions.html
/blog/2010/6/22/develop-and-deploy-silverlight-sharepoint-2010-solutions-par.html
/blog/2010/6/28/develop-and-deploy-silverlight-sharepoint-2010-solutions-par.html
/blog/2010/10/18/silverlight-sharepoint-2010-did-you-just-deploy-customizatio.html
Assuming by this point, you have built a XAP file from a Silverlight project, and can deploy it manually to SharePoint by uploading to a SharePoint document library and link up Microsoft’s Silverlight web part to “play” your XAP file.
Now let’s see how we can build a WSP package.
Create a SharePoint Project in your solution
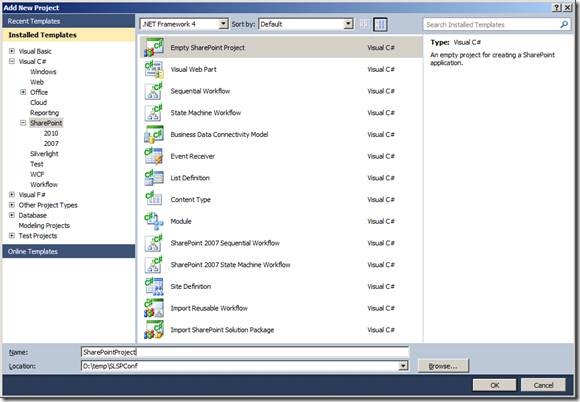
Figure: Add a new Empty SharePoint Project
 \
\
Figure: Provide a debug site, and choose Sandboxed solution
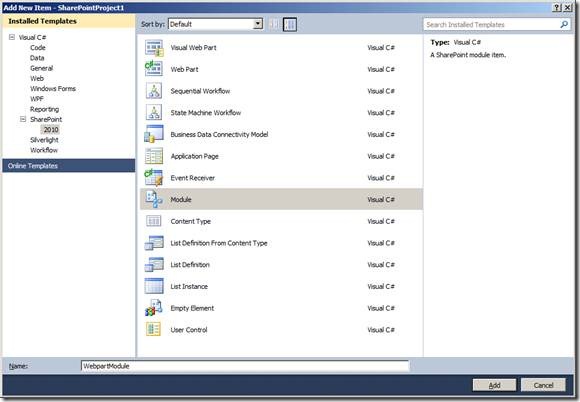
Figure: Add a module to this project - you should give it a good name
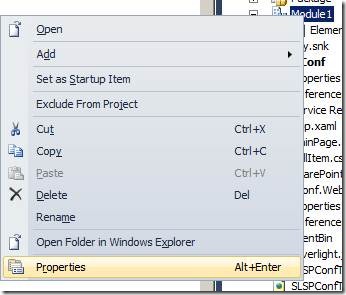
Figure: Select Properties of this module…
The following is very special. If you blink you will miss this!
From the Module’s properties, find Project Output References and open this dialog.
Then from the dialog
- select “ElementFile” for deployment type
- select the project output of your Silverlight project
This step ensures that the Silverlight project output (XAP file), is automatically included as an element file in your SharePoint module.
Magical! But very well hidden UI. Most people don’t know it’s there!
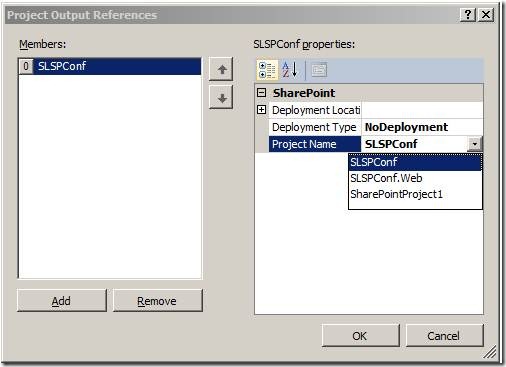
Figure: Add the Project Output to this module.
Open up the module.xml file and check:
Discussions